Sven Krasser's Blog
Musings on technology, security & sundries
-
Around Sedona
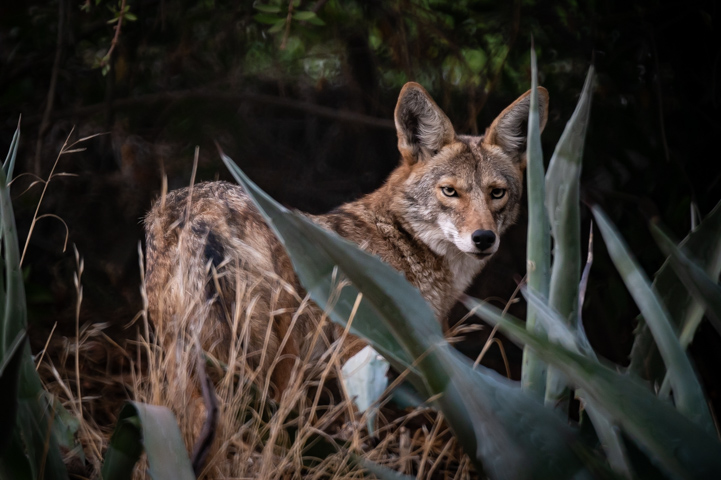
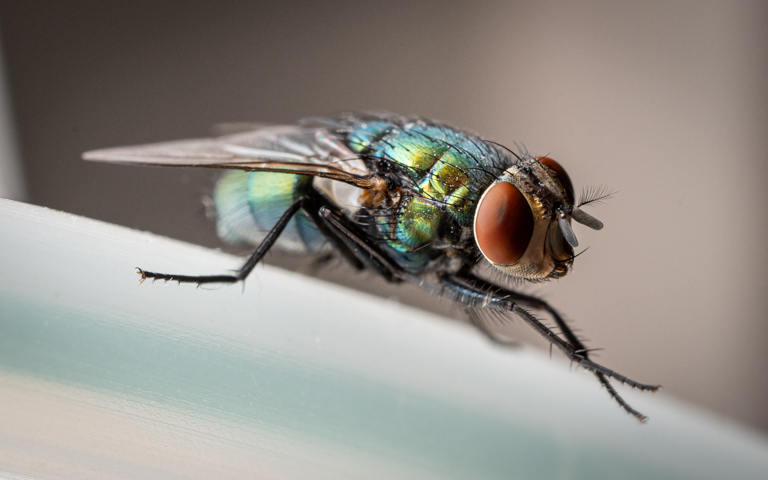
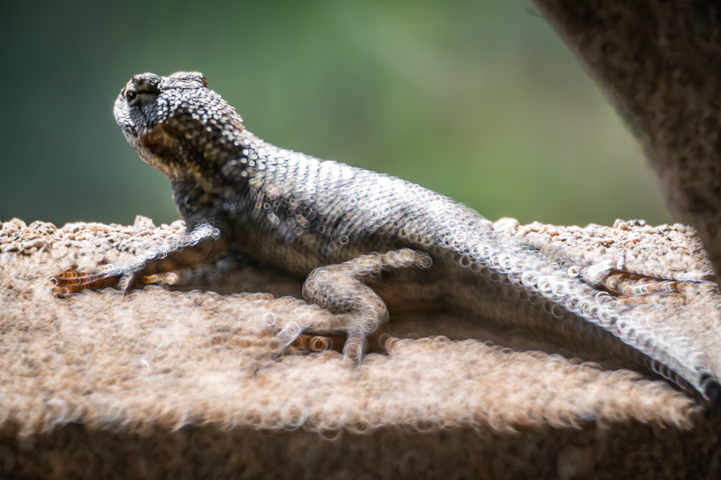
Outside of cooking and eating turkey, Shannon and I spent the last week gallivanting around Sedona, Arizona, by foot, car, and UTV. Below are a couple of pictures I took using my Z6 II, my X100T, and my iPhone.
-
Cab Hustle: My New Game for the Commodore 64
Over the past months I’ve been sporadically working on a new game for the Commodore 64, which for now is called “Cab Hustle.” The game’s objective is to maneuver a flying taxi through the playing area to haul passengers between platforms, similar to “Space Taxi” on the C64 with a ship that flies like the vessels in “TurboRaketti” on the Amiga.

-
Sylt, Germany
After a pandemic-induced one-and-a-half year hiatus, my wife and I were finally able to see the family in Germany for a trip to the island of Sylt. Below are a couple of snapshots, taken with my trusty X100T.